


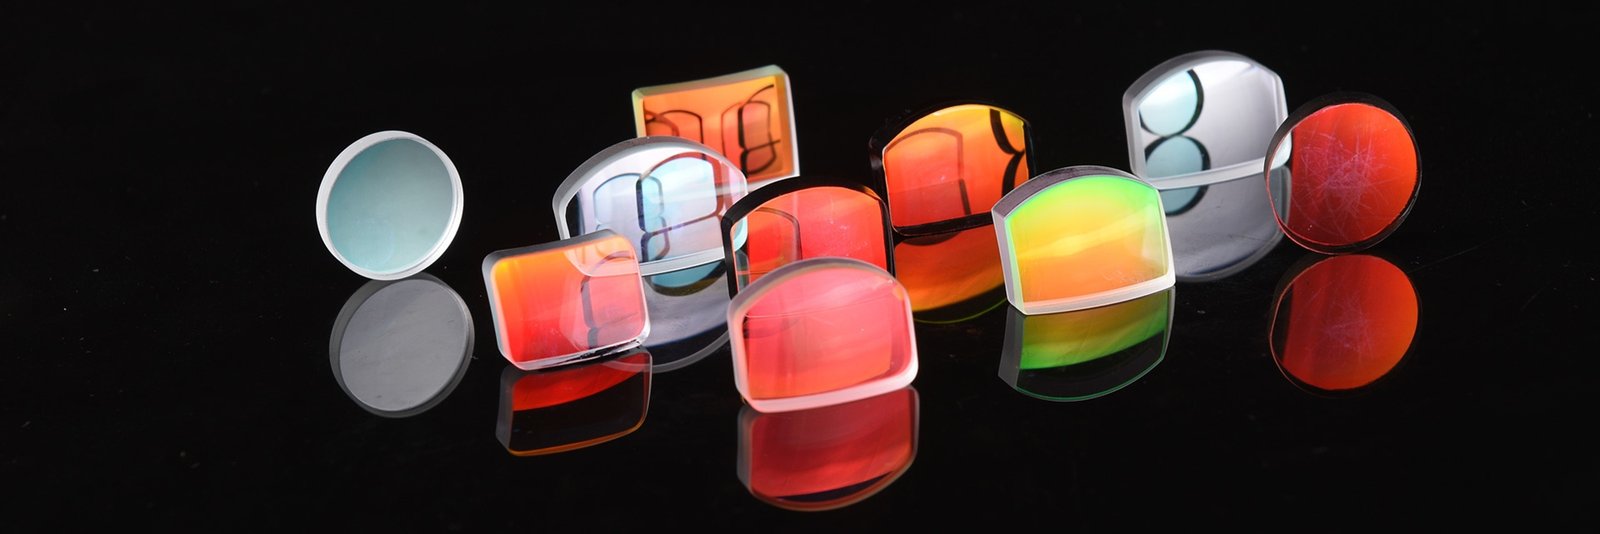
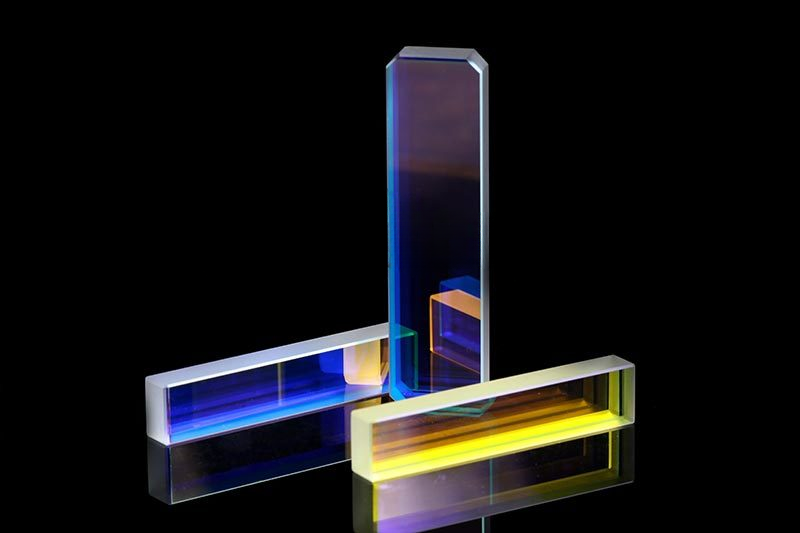
Prismes optiques et collage de lentilles optiques
The purpose of bonding
1. Improve the image quality of the optical system;
2. Reduce light energy loss and increase imaging clarity
3. Simplify the processing of optical components
4. Protect the engraved surface
Technical requirements for bonding
One is to ensure the center error or angle error, for lenses, to ensure the center error of the lens. For prisms or flat mirrors, ensure the optical parallelism of the prism.
The second is to ensure that the bonding surface achieves “zero defect” bonding, that is, to ensure that the polished surface of the bonding does not reduce the requirements for surface defects due to bonding, and does not affect the surface shape of non bonding surfaces due to bonding
1、 Overview of Optical Bonding
The combination method of optical components
Mechanical method refers to the use of mechanical components (such as spacers, pressure rings, etc.) to combine several optical parts to form a complex optical component
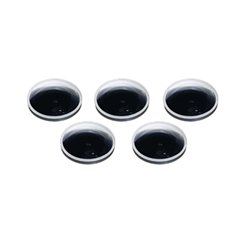
Glue method is the use of optical grade transparent adhesive to glue several optical components into complex optical parts.
The optical glue method relies on the attraction of molecules between the polished surfaces of the parts to combine several optical components into complex optical parts.
The principle of bonding
Mechanical bonding, physical adsorption, electrostatic attraction, mutual diffusion, chemical bonding.
Main technical requirements for bonding
1) Ensure the center error of the bonded lens and the parallelism of the bonded prism;
2) Eliminate bubbles in the adhesive layer
3) The adhesive layer is firm;
4) Ensure the surface shape accuracy of the glued parts.
2、 Lens adhesive centering
1) Transmission image focal point centering
2) Spherical reflex image centering
3) Laser interferometry based centering
4) Glued lens automatic centering
Transmission image focal point centering
Transmission image centering is achieved by observing the deviation of the transmission image of the lens from the geometric axis. Glue the lens onto the joint, with the end face of the joint strictly perpendicular to the machine spindle. When centering, rotate the lens and establish the center through the cross shaped image transmitted through the lens. The biggest drawback of this method is that when the deviation of the focal point of the transmitted image from the reference axis is zero, and the optical axis intersects with the reference axis, the actual eccentricity of the lens cannot be reflected.
Spherical reflex image centering
To bond the lens to the joint, first find the correction point of the lens. For non bonded surfaces, the correction point is its curvature center. The correction of the bonded surface can be calculated using the paraxial spherical refraction formula. Then select the appropriate objective lens based on the distance from the calibration point to the non adhesive surface of the lens. The distance x between the objective lens and the non bonded surface of the lens shall not be less than 10mm for ease of operation. After determining the position of the self aligning reflection center of the ball center on the edge grinder, observe the center of curvature of the optical surface of the lens, and rotate the joint until the ball center image remains stationary or bounces within the allowable range, which completes the centering. This method has high centering accuracy and is mainly used for centering lenses with small diameters and small curvature radii.
Laser interferometry based centering
The laser centering method consists of three parts: a focusing laser, a two-dimensional position sensor, and an electronic processing and display section. The lens is clamped in two hollow fixtures, and the laser can pass through. By rotating the lens, the center can be determined from the movement of the light spot on the photosensitive plate. The laser alignment center is widely used in mechanical centering and edge grinding machines, suitable for lens centering with a centering angle less than 16 degrees. This method is easy to operate, fast, and has high centering accuracy, achieving a centering time of 10 seconds.
Glued lens automatic centering
Place the convex or flat surface of the negative lens in the bonding process on the workbench, and place the positive lens on the negative lens. By relying on the weight of the component, the center of gravity of the lens will automatically coincide with its optical axis.
3、 Adhesive bonding process
1. Adhesive materials
1) Requirements for adhesive layer after bonding:
Optical performance, strength, cold resistance -40~-70C
Heat resistance 40~70C
2) Requirements for adhesive materials
Optical properties: Similar to optical materials Mechanical properties: coefficient of expansion, elastic modulus, and small volume shrinkage during curing
Thermal properties: -70~70C, good thermal stability, chemical properties: stable and non-toxic
Other: Simple preparation, easy to remove glue
2. Types of adhesive materials
Natural lipid optical adhesive:
Thermoplastic, light yellow glassy solid; Not crystalline, with good optical consistency; Has a certain degree of adhesion and does not corrode glass; Fast curing and easy to remove adhesive; Stress can be relieved
Disadvantages: Large expansion coefficient and limited temperature range for use.
Synthetic resin optical adhesive
Optical epoxy resin adhesive: small curing shrinkage; Strong adhesion force; High mechanical strength; Good resistance to high and low temperatures; Good chemical stability; The disadvantage is that the curing time is not easy to control; Difficulty in removing adhesive; The curing agent and diluent used are toxic. Methanol gel: good spectral transmittance, mechanical strength, cold resistance, and heat resistance. Disadvantages: large solidification shrinkage.
Photosensitive adhesive
Features: Good transparency; High mechanical strength and good flexibility and elasticity; Small coefficient of expansion; Good resistance to high and low temperatures; Good chemical stability; Rapid solidification with low shrinkage rate; The viscosity and curing time can be adjusted, making it easy to use; Colorless and odorless, with low toxicity. Disadvantage: Difficult to remove adhesive.
Adhesive testing
1. Color of adhesive layer
2. Defects in glued components
Degumming of glued components and its causes
Degumming of oak or cypress leaves
Strip like delamination
Point or bubble like delamination
Degumming at the reverse edge
Reasons for delamination
There are bubbles in the cleaning adhesive layer of glued parts
Improper control of adhesive viscosity and thickness
Reduce the viscosity of the adhesive layer when centering
Initial polymerization temperature is too high
Curing temperature too high and time too long
Organic solvent immersion in adhesive layer
Long term storage in humid air
Adhesive layer failure
3. Remove the adhesive
High temperature debonding
Direct method: natural resin adhesive at 80-120 ℃; Photo sensitive adhesive at 120 ℃.
Indirect method: For epoxy resin bonded parts, heat them in castor oil to 290 ℃; Heat the photosensitive adhesive parts in 80% H2SO4 to 180 ℃.
Low temperature adhesive disassembly
(Freezing method) Cool the liquid oxygen low temperature box to -120~-150 ℃
Room temperature method
Hammer to remove adhesive
4. Process of light glue
1、 Optical adhesive mechanism
2、 Light glue process
prepare
wipe
Positioning Center
optical cement
annealing
The influence of various factors on photoresist
temperature
Deformation caused by temperature gradient inside the component
Deformation caused by temperature changes in the surrounding medium
Deformation of the optical adhesive component itself during temperature changes
surface cleanliness
